 |
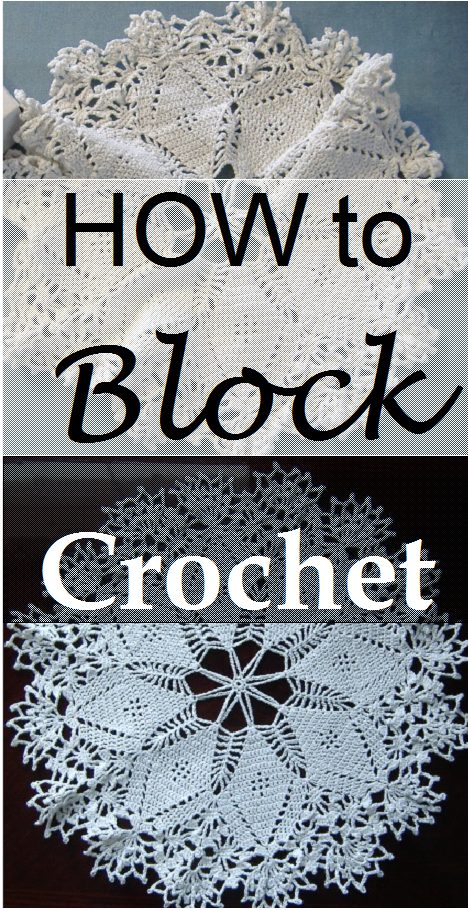
I have to admit that I have a soft spot for hand-made doilies. Yes, I know they are old-fashioned... but maybe I'm a bit old-fashioned at heart.
Have you ever crocheted some beautiful lacy item, but when you're done it doesn't look at all like the lovely photo which inspired you to begin crocheting in the first place?
It can be rather disappointing.
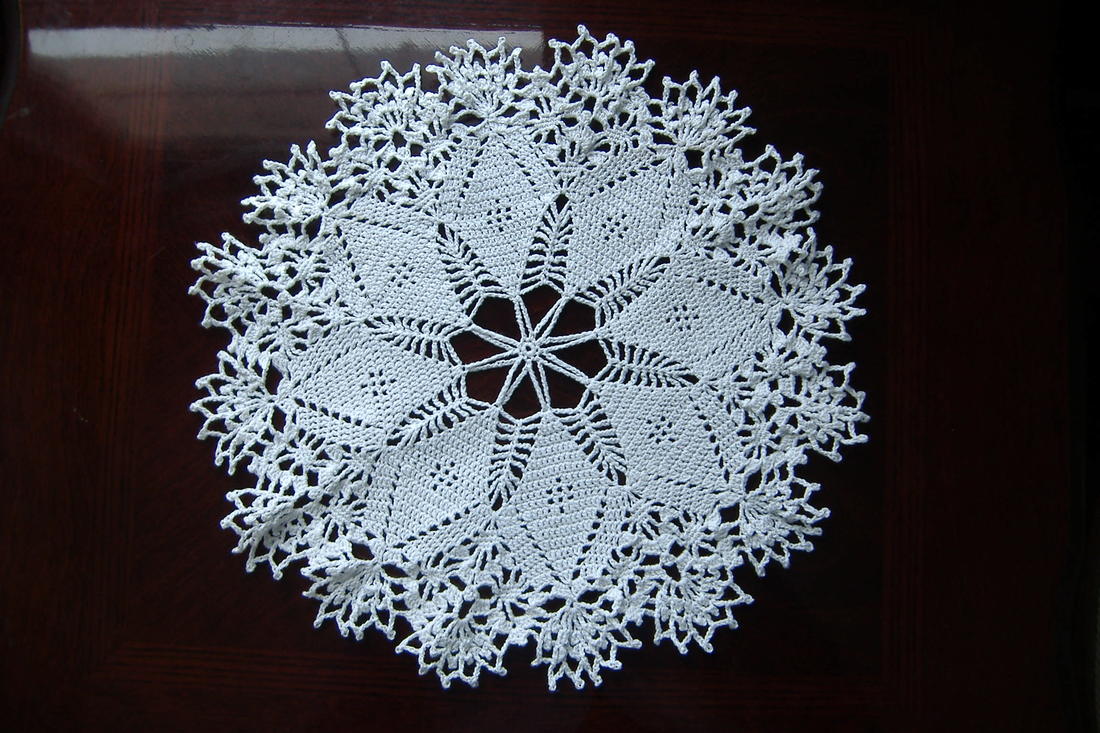
Let me walk you through the steps using a lovely doily my grandmother made me about 10 years ago.
(She makes me them because she knows I love them. Isn't she so talented and sweet?)
Have you ever crocheted some beautiful lacy item, but when you're done it doesn't look at all like the lovely photo which inspired you to begin crocheting in the first place?
It can be rather disappointing.
Let me walk you through the steps using a lovely doily my grandmother made me about 10 years ago.
(She makes me them because she knows I love them. Isn't she so talented and sweet?)
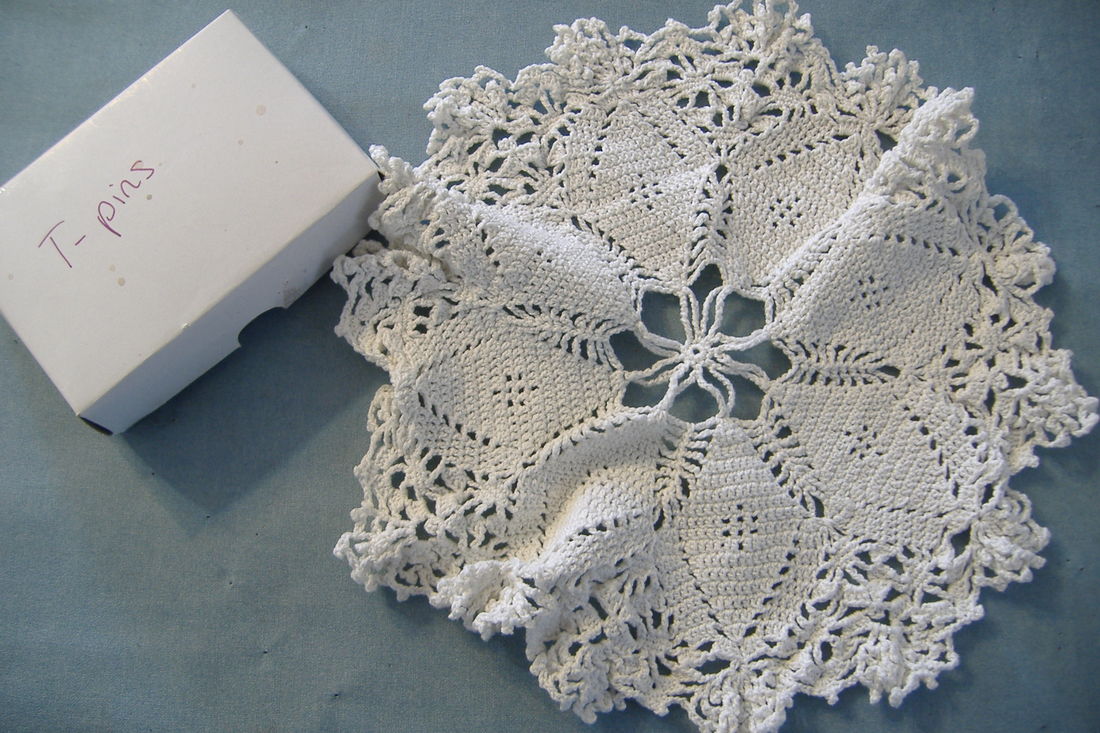 | 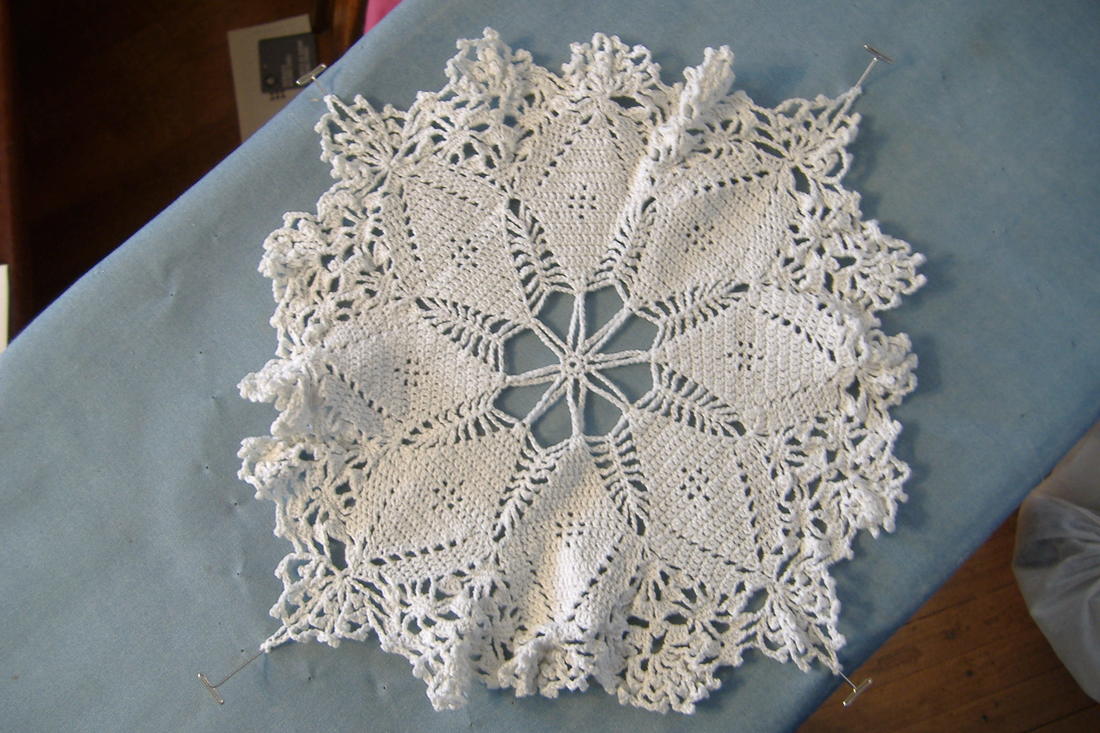 |
| Step One: Gather your gear. You'll need a lot of T-pins (also called blocking pins) and a surface that you can stick them into. I use my ironing board for smaller items. Don't forget your doily! | Step Two: Spread out the pattern and see if there are certain repeats or quadrants that you can use. This one has 8 pointy diamond shapes, so I divided it into quarters. This will allow me to keep it relatively even as I pin. I will then divide each section in half. Then each of those sections will be divided in half again. |
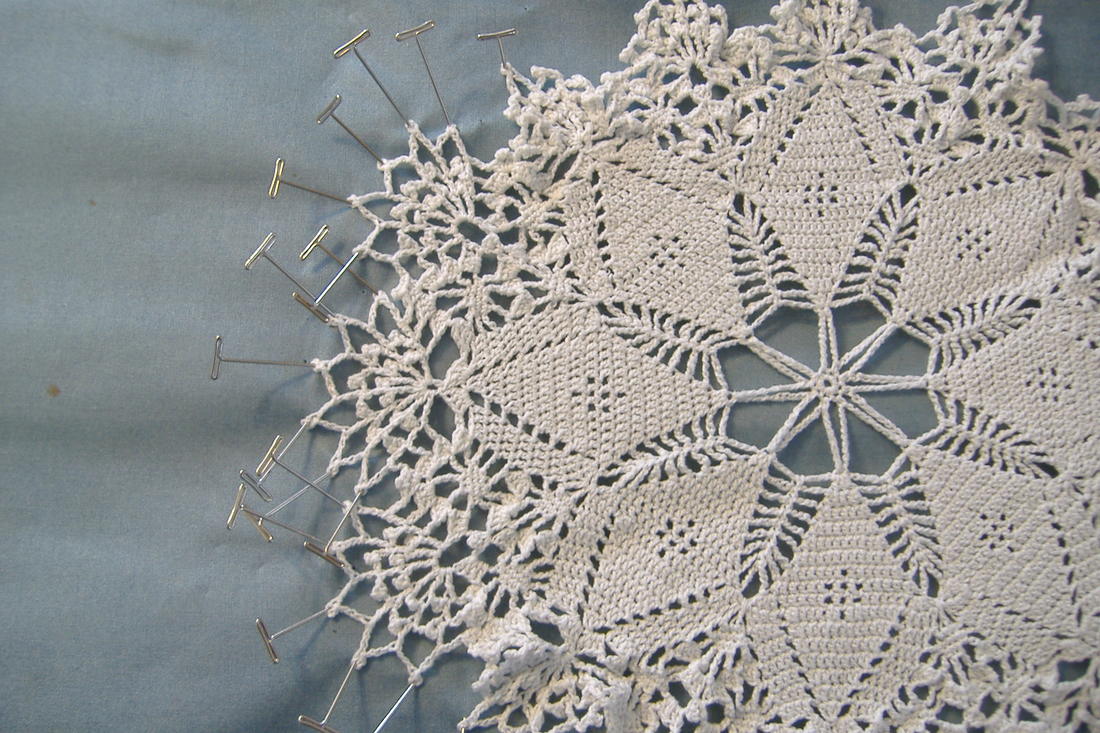 |  |
| Step Three: Once the doily is pinned out roughly, I will focus on each individual flower cluster at the tip of each pointy bit. Doesn't that look better already? | Step Four: Now that the shape is beautifully pinned out, it's time to iron. Ok, so there might be a tea break between photos. It's a lot of pinning! I set my iron just before "really hot". It's almost at the cotton setting. My iron has a steam button, which I use to puff hot steam onto the doily as I iron. Now - and this is important - I leave my doily pinned to the ironing board to cool down (while I have some more tea). |
 RSS Feed
